距世博会开幕还有天


Minimum configuration:
cpu:P4 3.0G
Memory: 1G
8600GS 256MB or more for discrete graphics
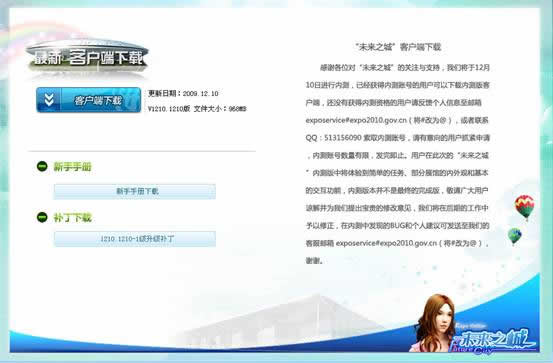
1.Download website:
http://cs.wwcode.com/ExpoCSDL/web/download.html
After attaining the account for Beta testing version, user can start downloading:
2.Choose how to download: a) Client portal download b) SP download
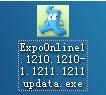
1.double click on the downloaded client portal set up.

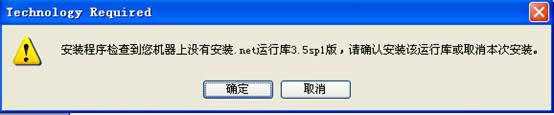
2.Client portal will run an automatic scan and remind user to install .net software. Please choose “Yes” to continue or choose “no” to stop the installation.
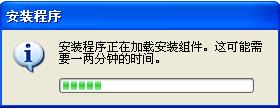
3.Wait for the system to automatically install.
4.Entering .Net software installation interface, choose “I accept the terms in the license agreement”, then keep installing.

5.After the installation of .Net software, click “next” to proceed and if one wants to cancel the installation, one can click “quit”.
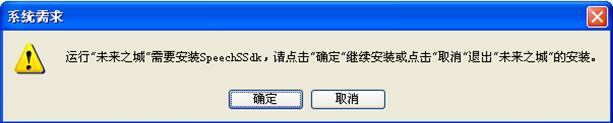
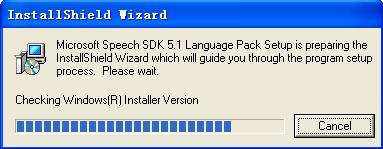
6.System reminds users to install “SpeekhSSdk”. Click “Yes” to proceed the installation.

7.Click next
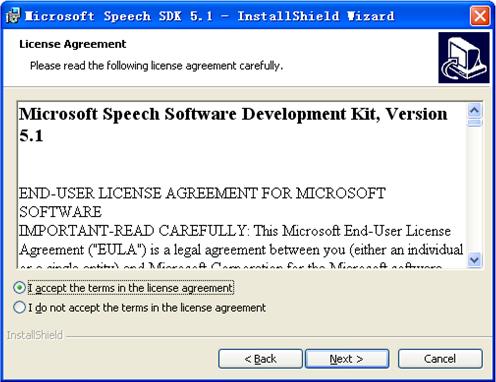
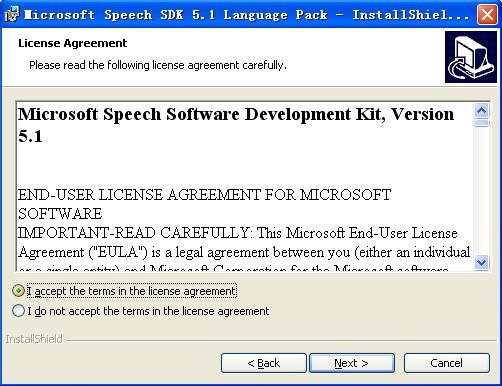
8.Here please choose “I accept the terms in the license agreement” to agree to further install.
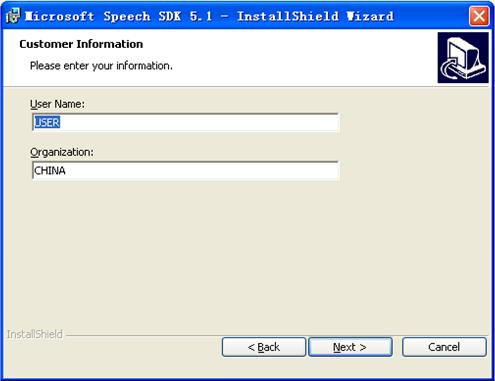
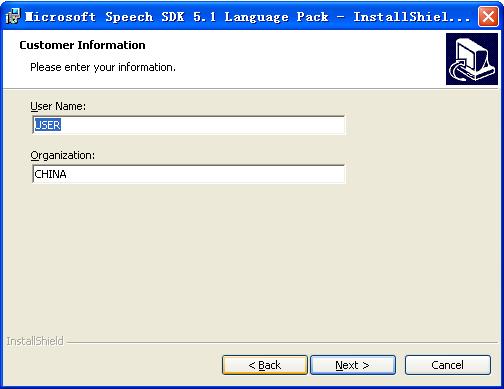
9.Enter the user and user’s location. This step could be skipped. One can directly choose “next” to further install.
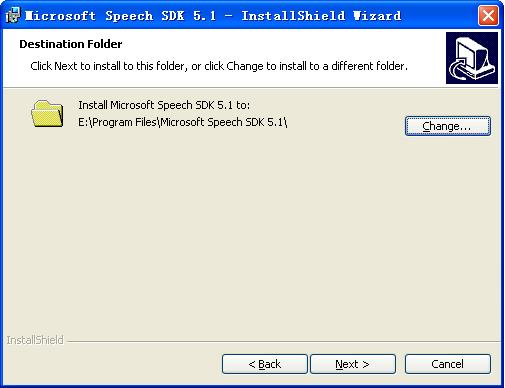
10.Choose the disc you want to locate the program
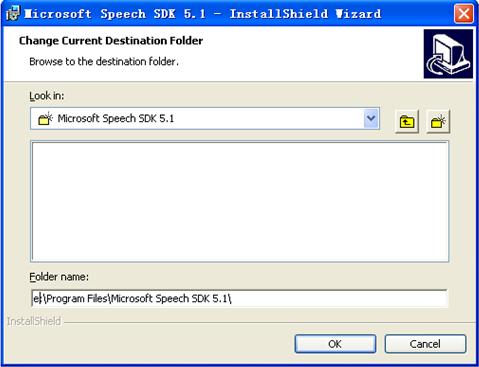
11.Choose the location you want to locate the program and click “OK” to further install
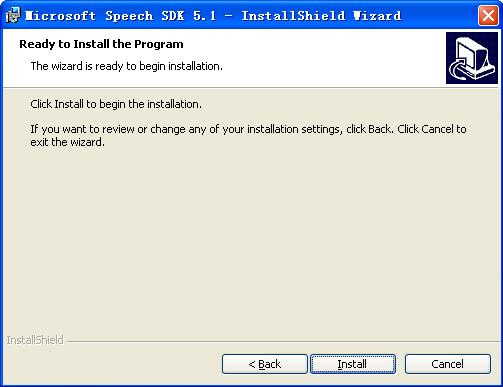
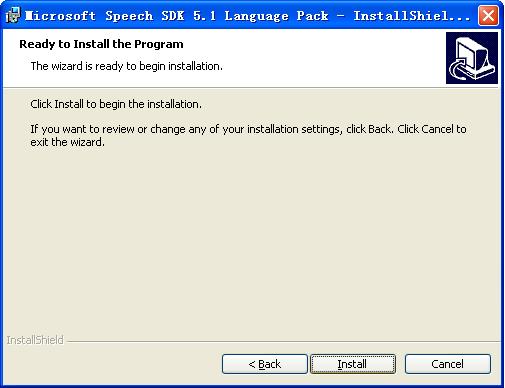
12.Keep clicking “install” to further install

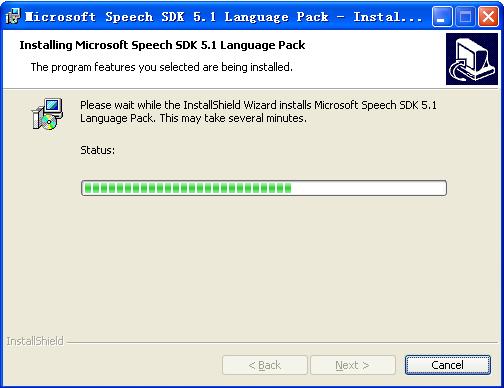
13.Installation starts, please wait a bit. If one wants to cancel, one can click “cancel” to quit.

14.Installation completes. Speech SDK program is installed. Click “Finish” to end the installation of this program.

15.System reminds users to install “SpeechLangCN”, click “YES” to install.
16.Extracting… please wait.
17.Please choose “I accept the terms in the license agreement” to further install.
18.Enter user name and user’s location. This step could be skipped. Please click “next” to further install.
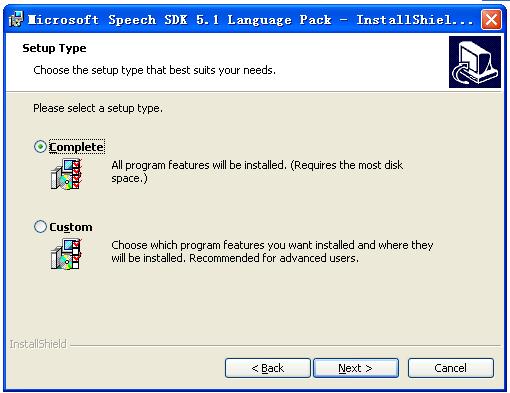
19.Choose installation mode. We suggest you to choose “complete” to fully install. Hit “next” to proceed.
20.Installation reminder, hit “install” to start the process.
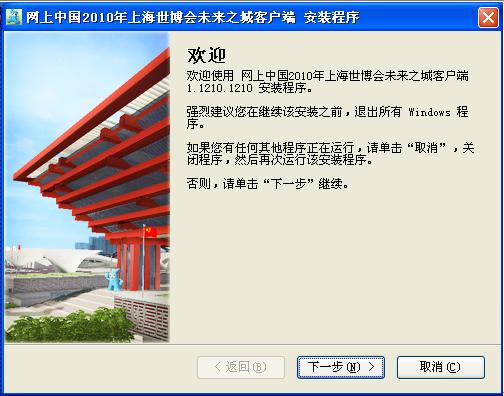
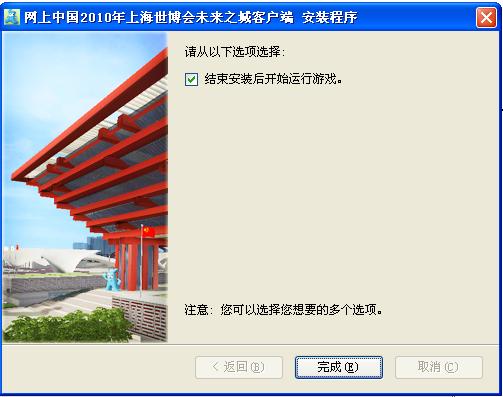
21.Installation is in progress. Please wait till it is done. If one wants to cancel the installation, one can hit “cancel”. After installation, one can start installing the “client portal for Future City”.
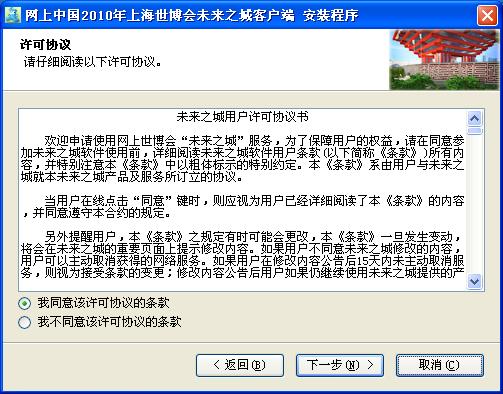
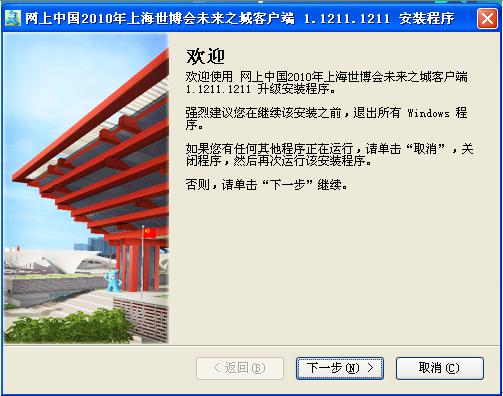
22.This interface is the license agreement of installation. Hit “agree” and clikc “next” if one wants to install. (if one chooses “disagree”, the installation could not proceed)
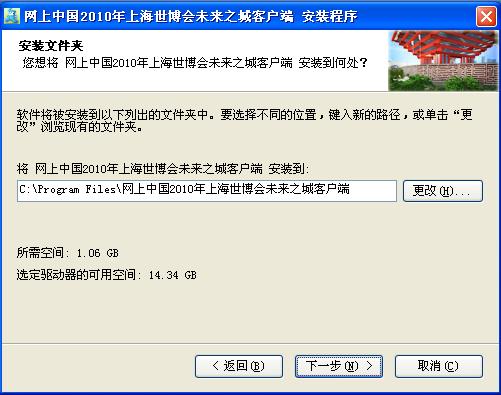
23.Choose the installation path. Its default path is C:\Program Files\, click “change”, one can change the path. Hit “next” when the path is chosen and the installation could proceed.
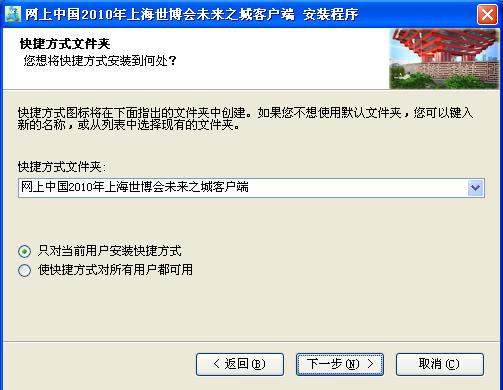
24.Please choose where to put the shortcut of the client portal. Please choose a customized place for shortcut. One can also choose whether this shortcut is applicable to all users to the computer or just one. Hit “next” when making the choices.
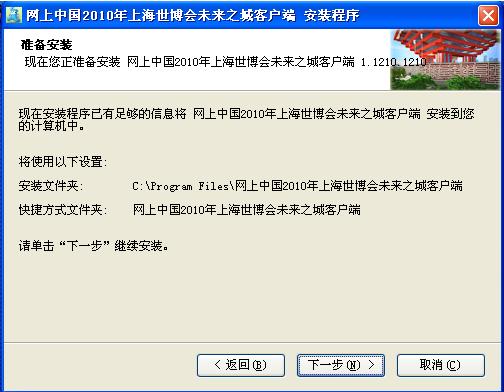
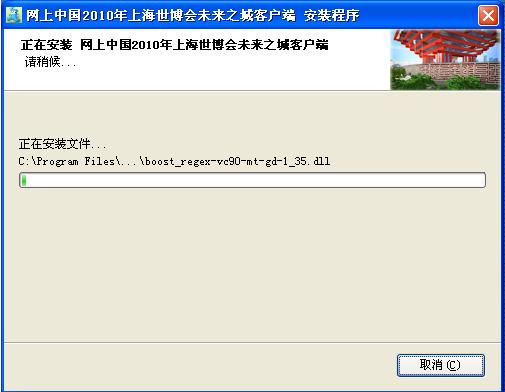
25.Keep clicking “next” to enter installation. One will see the installation interface. Click “next” to choose the client portal. Please wait patiently till it is finished and click “finish” when the installation is complete.
Download fromhttp://cs.wwcode.com/ExpoCSDL/web/download.htmlAfter download, double click the supplement pack shortcut to install and hit “next” to further proceed the installation.
Under “Start”---“Programs”, please choose “Uninstall the client portal of Expo Online” and click “uninstall”, then one can uninstall the program successfully.

26.Double click client portal shortcut
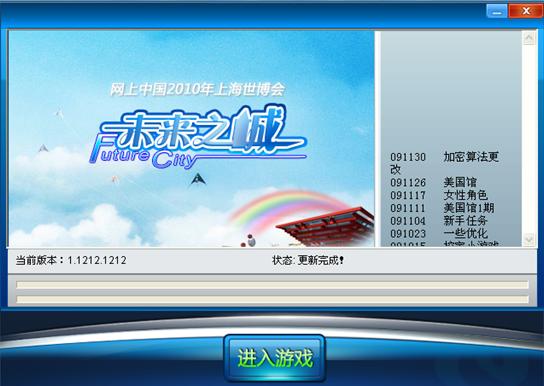
Click “Enter the Game” to enter the game

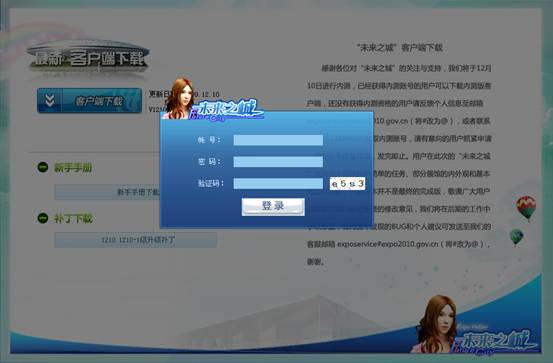
27.When entering the user log in interface, please enter one’s account name and password. Then choose “I agree with the terms”. After clicking “log in”, one can successfully log in. One can also choose “remember this account” so that the system will show this account as the default account when one logs in next time.
28.Users click “creating roles” to enter the role-creation page.
29.One can choose characters from a large pool and one can also zoom in, zoom out and rotate the selected character to give a full view of the role. One can also customize one’s character. (in later version)
30.After creating the role, one can enter the game after entering the name of the role. (there could be multiple roles)
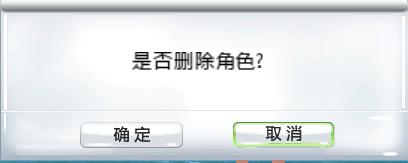
31.Users can also choose to delete certain roles. When selecting a target role to cancel, after hitting “YES”, the role is canceled.
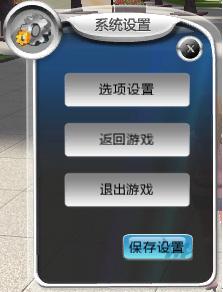
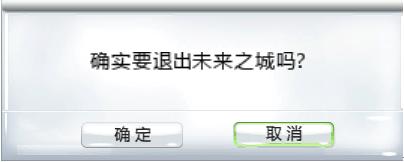
There are two ways to log out. One is to click the closing button at the upper right corner. The second way is to use “ESC” button to show the system set up page, choose “quit the game” to log out.